Creating Simple Web Application using J-Wizard.
This example demonstrates how to use J-Wizard to create a simple web application.
Prerequisites:
-
You should have a j-wizard account. (Click Here).
-
You should have any web browser of your choice.
Steps:
-
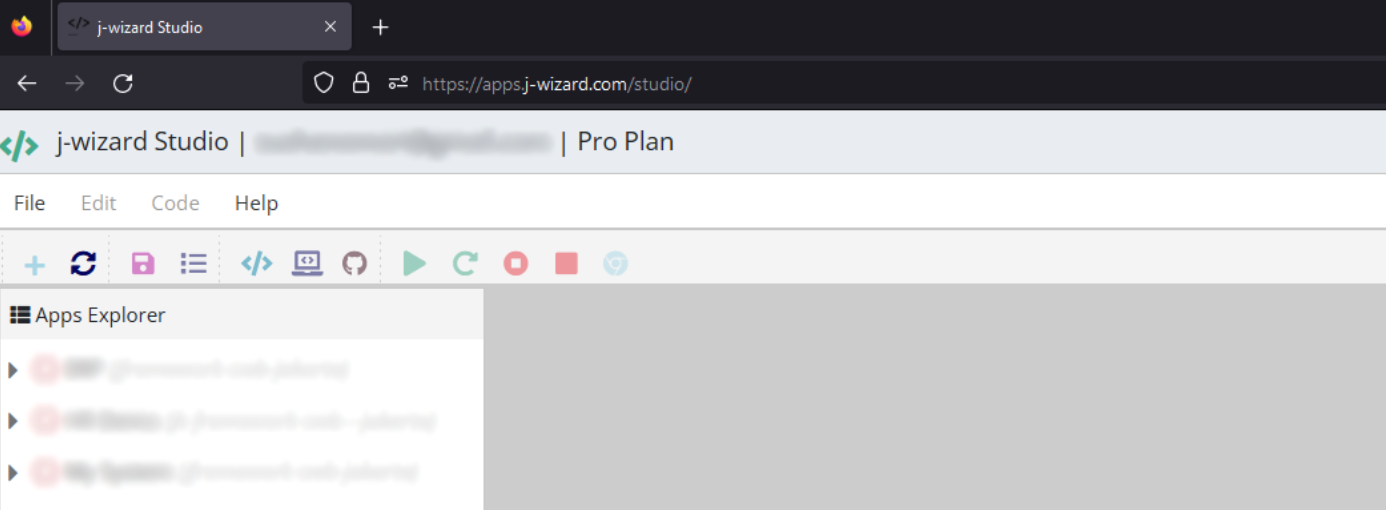
First, head on to j-wizard studio (login with your account).
-
If this is your first application, it will direct you to create a new application right away, however, if this is not your first application, you can start a new one by pressing the [+] icon and choosing [App] from the drop-down menu.

-
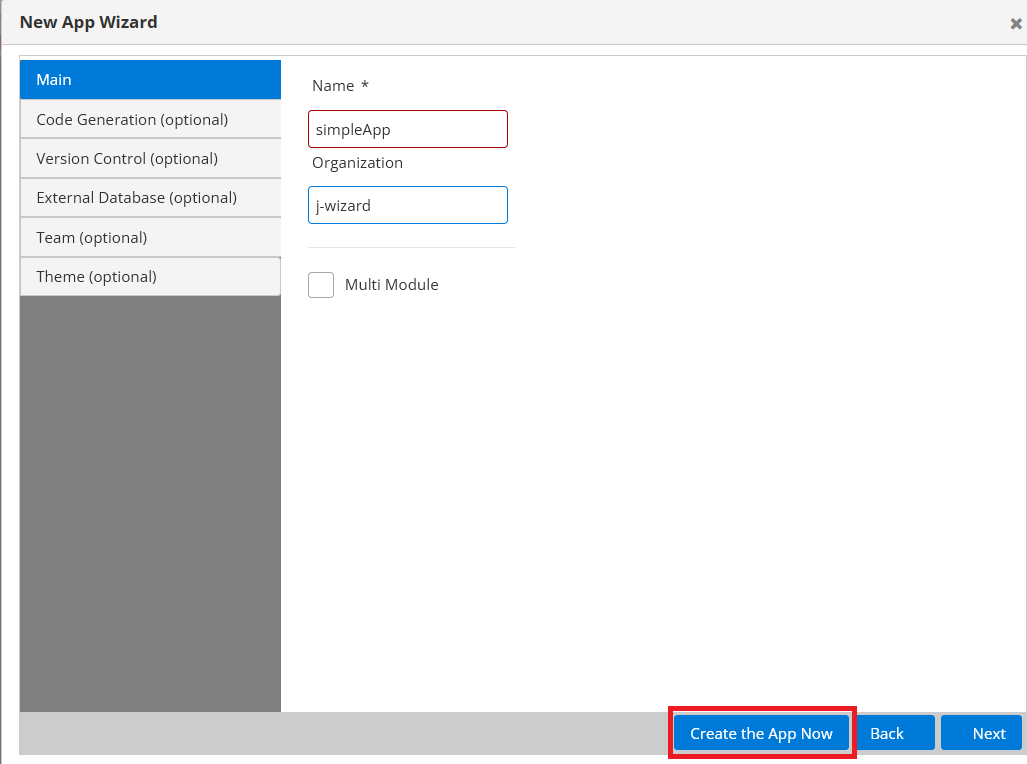
Inside the [New App Wizard] window, you start filling up the name of your application as well as the organization it belongs to, and for the sake of simplicity, we’ll choose a single model application (this can be changed later) after you fill this out, click on [Create the App Now] to create your application.
-
Now, you can view the section where you can start designing your application in. Let’s create our first group by pressing on the [New Group] button.

-
As you add more groups, you would notice that each group has a name and a set of pages you can add to it. You can also add more groups or delete ones you don’t need anymore.

-
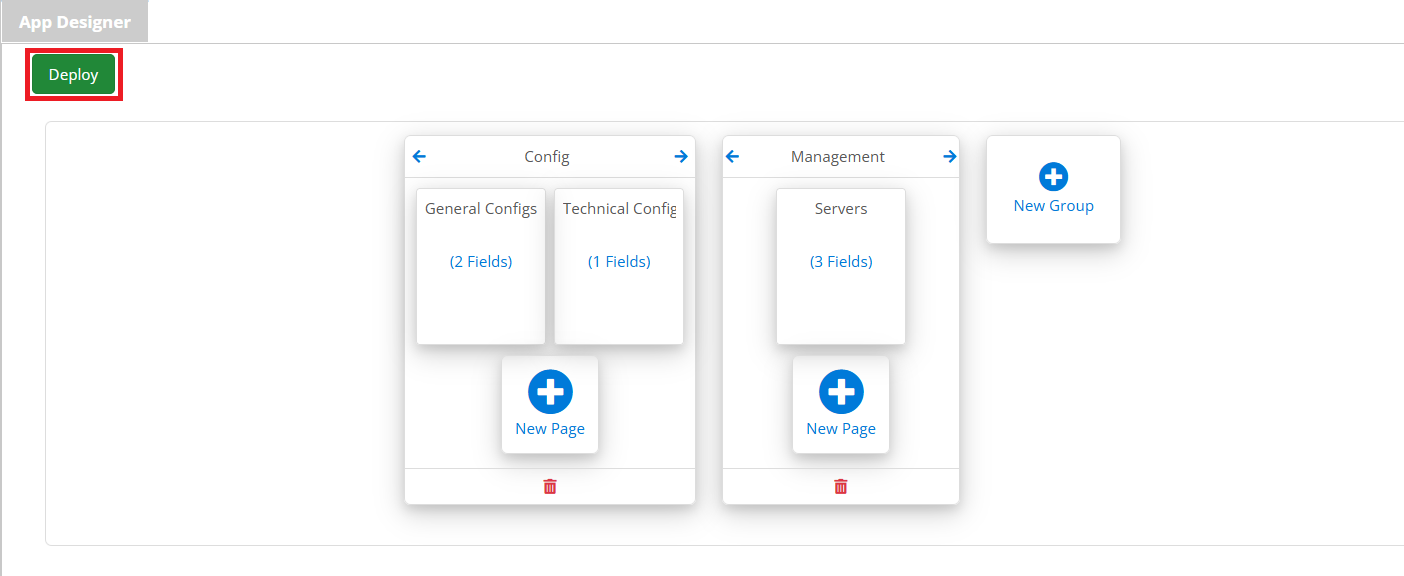
For simplicity, we’ll make two groups, we’ll call one [Config] and another [Management]. Then we’ll add pages to each of them as shown below.

-
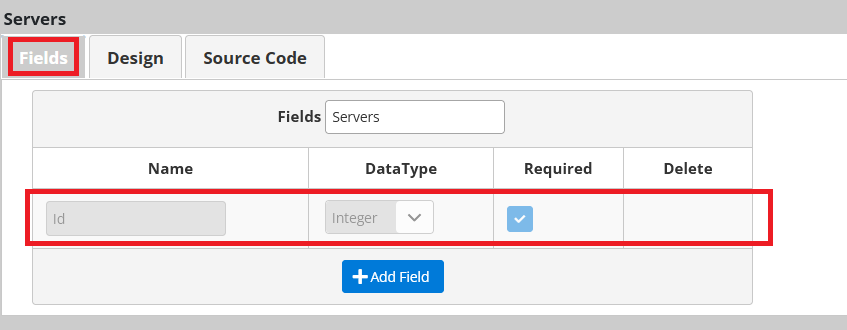
And now we can click on each page individually and add fields to it, for example, when we click on the [Servers] page, you would notice that there’s an ID field already, this would be the primary key for this page.
-
You can click on [Add Field] button, and it will add more fields for you. Notice how each field has their own customizable properties which you can edit as you see fit.

-
After you finish adding suitable fields, you can then directly generate a code for your application, either by pressing the Generate Code icon, or by going to the Code drop-down menu and choosing [Generate].

-
This will download your code as a zip file, after unzipping it, you can import this project into your favorite IDE.
-
Inside your IDE, go to the
src/main/java/com/app/App.javaclass.

-
Next, run it as a Java Application.

-
Your program will then run and open your browser on the application you just made. Now head on to the sign-in page to view the inside of your application.

-
Sign-in with the credentials: Username: admin and Password: admin.

-
Once inside, you can edit the roles and add more users to your system in the [Security] section with configurable roles and permissions.

-
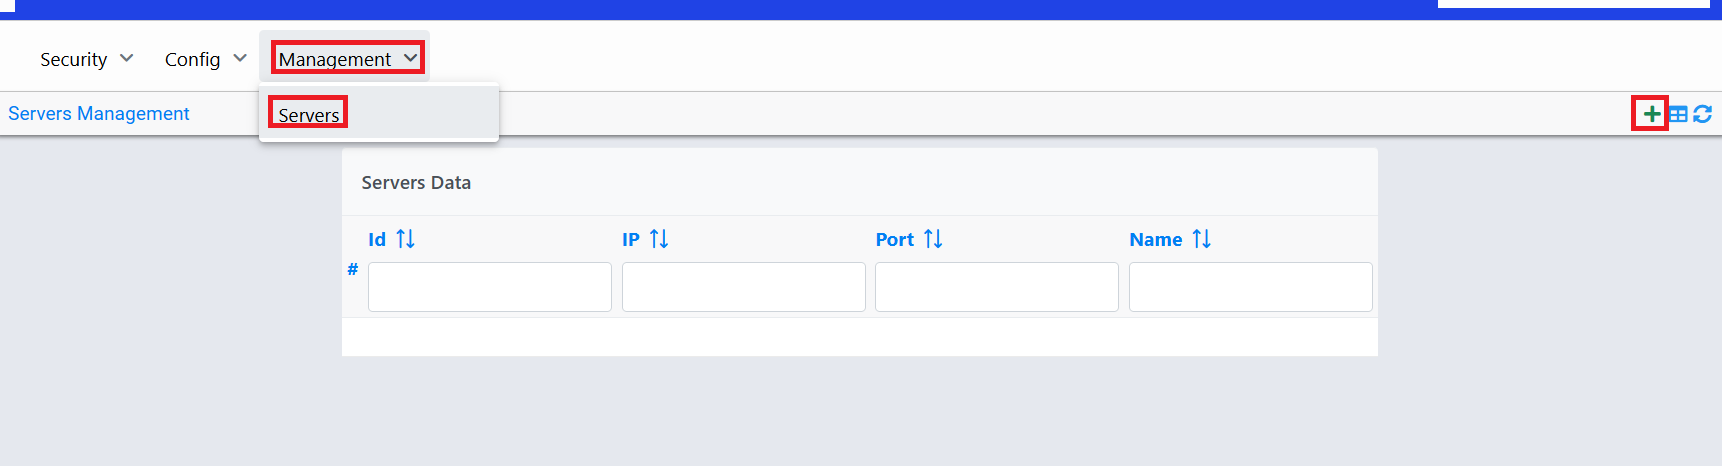
You can also see the pages and groups you have made inside the j-wizard, by heading directly to them. As you can see, the servers page now enables you to add as many servers as you need using the fields you configured while making the application. If you press the [+] icon, it will show you a window in which you can add servers records in.
-
In this window, you can fill out the fields of the record, and then when you add it, it will add it to your application database.

-
Alternatively, you can deploy your application using j-wizard, by pressing the [Deploy] button. This is very useful if you wish to see your application preview before generating the code.
-
Now, you have successfully made a new web application with a few steps without writing any line of code.