MongoDB
This section includes tutorials, tips and tricks of using MongoDB
Installation
In this section, we will show you how install MongoDB Community Edition.
-
Scroll to "MongoDB Community Server", in Available Downloads section, Select the Version, Platform and package and press on Download button

-
Open the downloaded file, press Next in the following screen:

-
Accept the terms in the License Agreement, by clicking on the checkbox next to I accept the terms in the License Agreement and press "Next" in the following screen:

-
Choose setup type Complete, then press Next in the following screen:

-
Install MongoD as a Service, Choose Run Service as Network Service user, then press Next in the following screen:

-
Install MongoDB Compass, that is the official graphical user interface for MongoDB, Make sure that Install MongoDB Compass is checked, then press Next in the following screen:

-
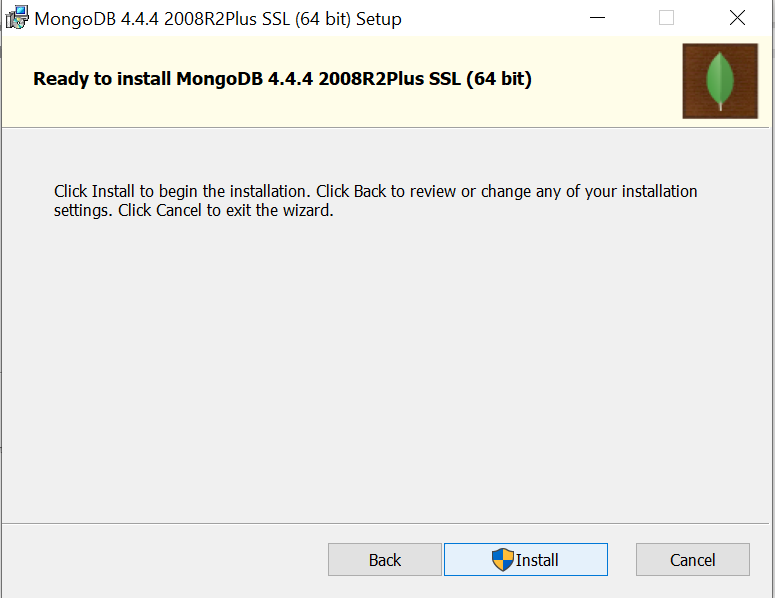
Finally, press on Install in the following screen and MongoDB will start the installation
CRUD with Mongo NoSQL DB
In this section, we are getting started with MongoDB Compass, that is the official graphical user interface for MongoDB, We will create and drop a database, create collection, add, update and delete data.
-
Open MongoDB Compass, and you should see the following screen:
-
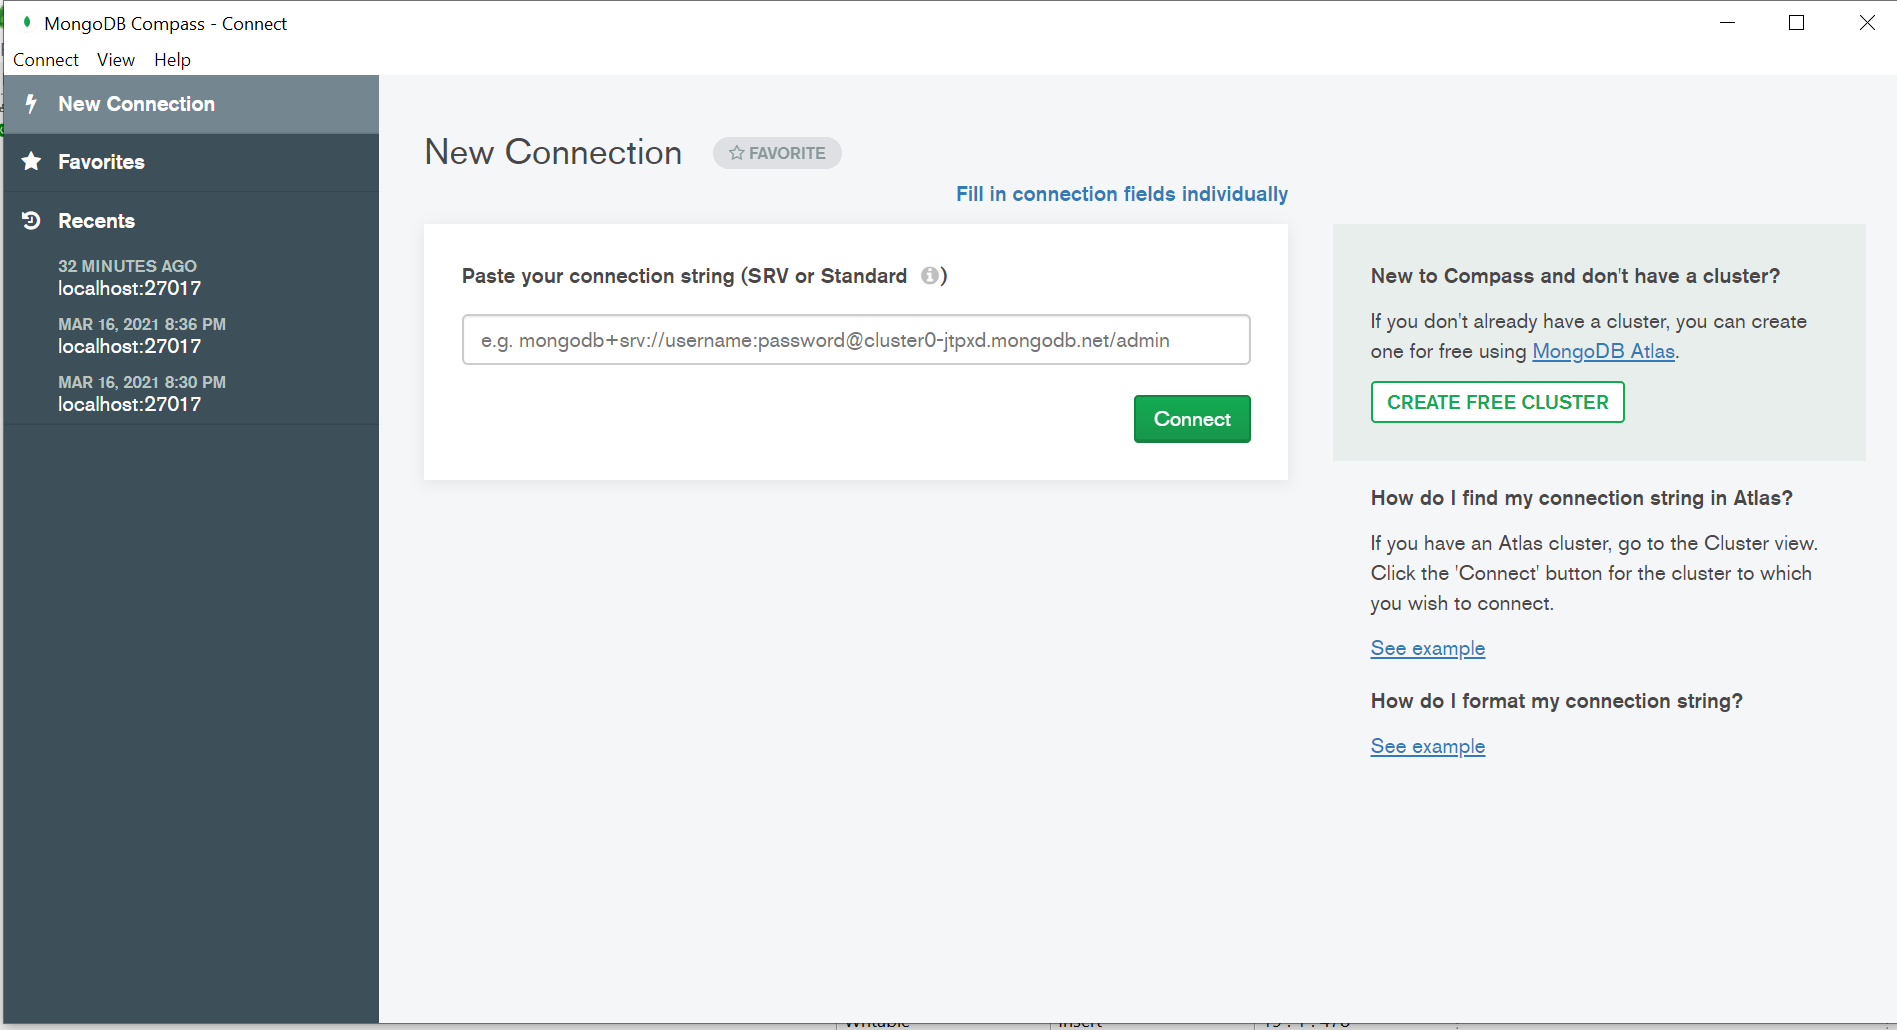
Create New Connection, in two ways as follows:
-
Paste your connection String (SRV or Standard), then press Connect
-

-
Fill in Connection fields individually, by filling Hostname, port, selecting the authentication and then press on Connect in following screen:

Database Creation
-
Click Create database in the following screen:

-
Fill in Database Name and Collection Name, then press Create Database in the following screen:

-
In the following screen, you should see the database that you have created in the previous step.

-
Click on the database, you should see the following screen with the collection that you named in the previous step:

-
Click on the collection, you should see the following screen:

Add Document
-
Add data, in the following screen press "Add Data", in two ways Import file or Insert Document

-
Import File, by browsing the file you want to import and selecting Input Type File, then press IMPORT and the data will be imported

-
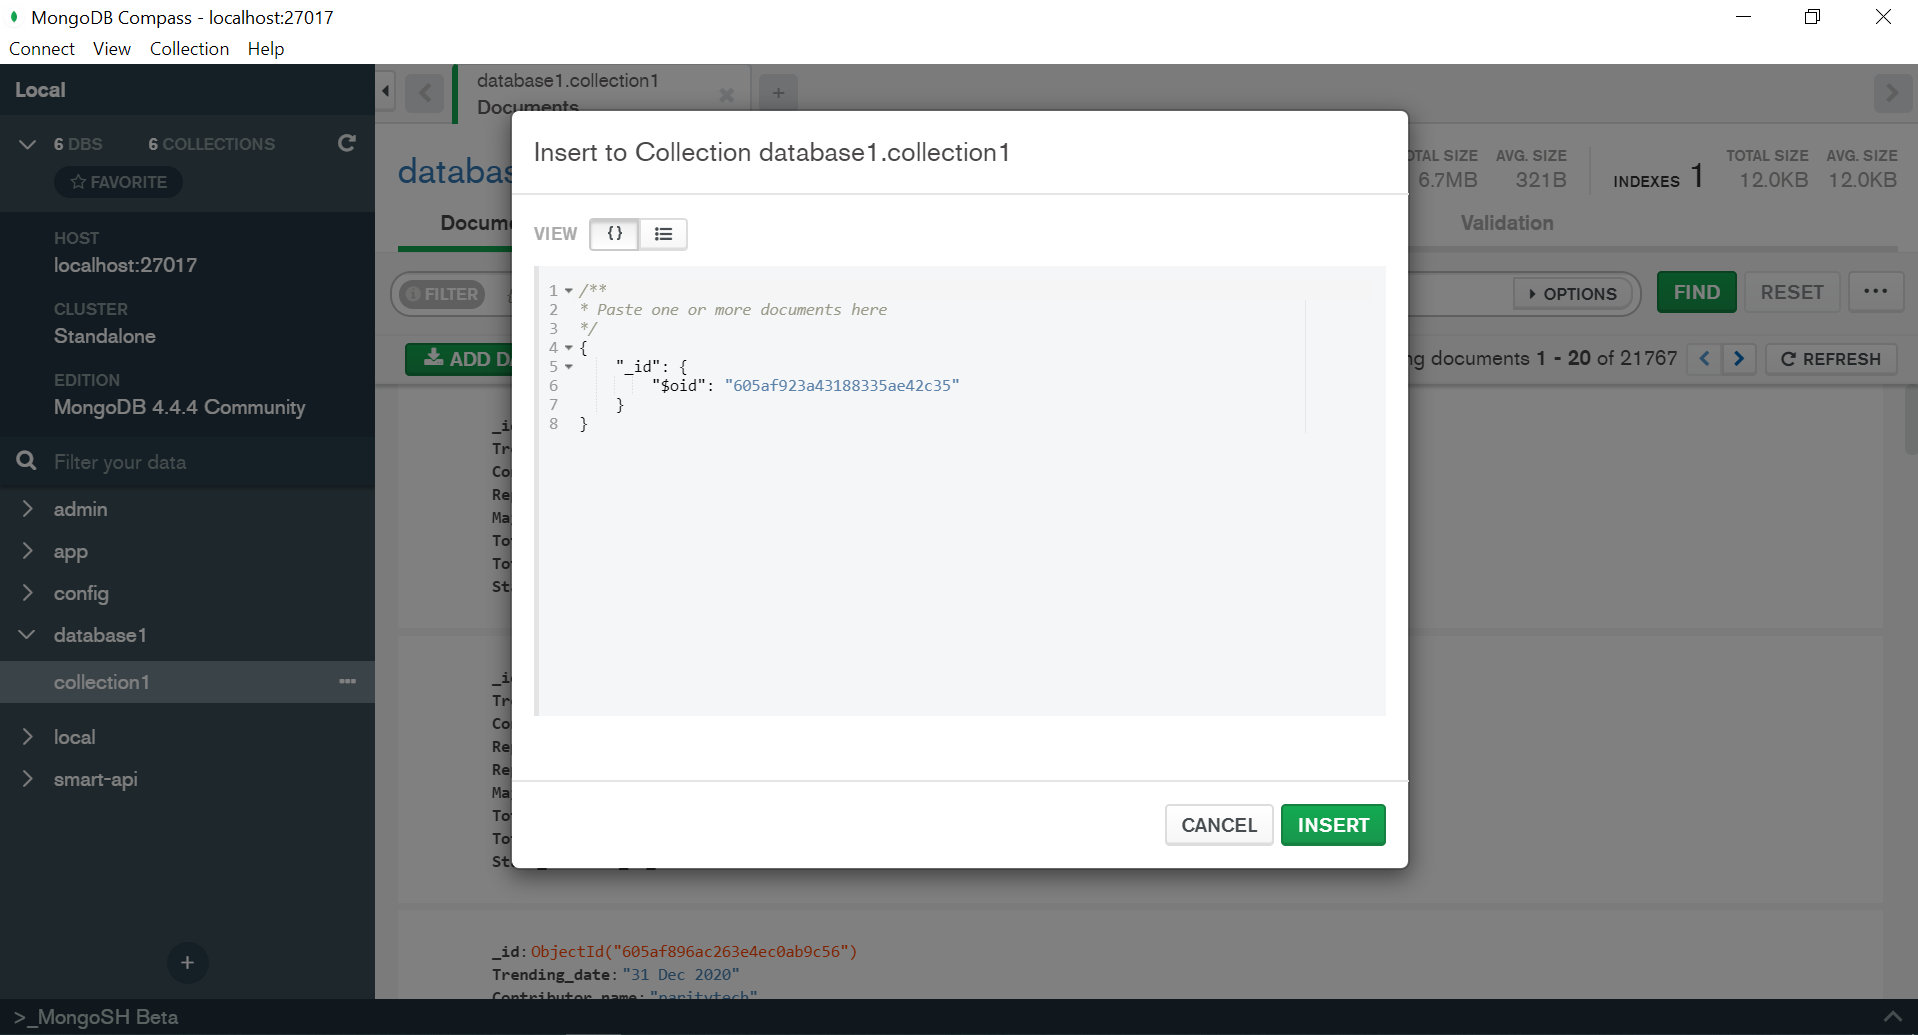
Insert Document, then fill the data and then press INSERT
Edit Document
-
To edit Document, hover over the document that you want to edit and press Edit Document, apply the changes then press UPDATE, as in the following screens:


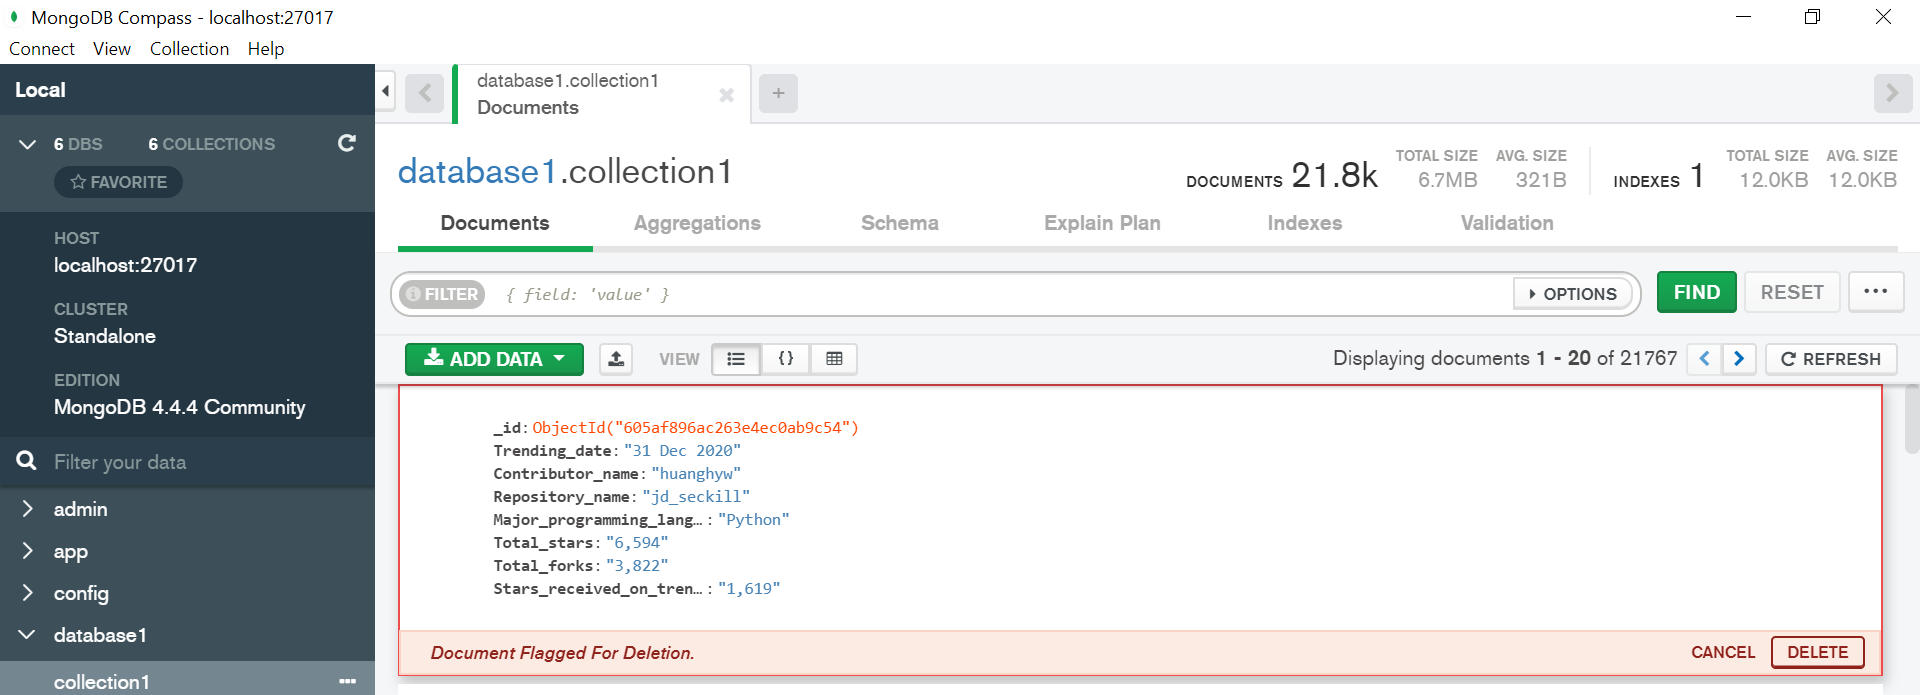
Document Deletion
To delete a Document, hover over the document that you want to delete and press Delete Document and then press DELETE